Sometimes the best things in life take a little time to create. In this two part project kids first create words or designs with glue and salt and then once those are dry they add color with paint and watch it blend and spread like magic!
Materials needed:
card stock
salt
tray and cups
liquid glue
food coloring and water
droppers
Directions:
Place your card stock on a tray.
Use your liquid glue to write a word or make a shape.
Cover glue with salt, sliding it around the picture so all the glue is covered. Let dry.
Once dry use the droppers to put the colored water onto the salt. Watch how the salt absorbs the water!
*Bonus activity: After we were done with the salt art it turned into a science activity! We spent some time using the droppers, mixing colors and pouring.
Now that the sun is setting early we want to make the most of the daylight hours. You can make a beautiful suncatcher at home.
Materials needed:
contact paper or self-laminating sheets
construction paper to create the opaque borders
tissue paper cut into squares to fill in the borders with color
You can create any pattern or shape that you want. You can cut out a leaf shape and fill it with orange and yellow and red tissue paper squares.
For this one we cut out strips of black construction paper and made shapes like triangles and trapezoids. Then filled it to look sort of like a stained glass window.
This a great Brain Builder for a wide range of ages. Infants and toddlers will enjoy exploring the sticky paper. Older children practice fine motor skills and exercise patience as they have to move deliberately as they place the tissue paper squares on the sticky paper.
Let’s move our bodies and get into the Halloween spirit! Make up your own dance by spelling your name or go from A-Z. Maybe you can make a family dance routine! Be safe, make enough room for yourself and others to move safely. Don’t forget some spooky music to get you in the spirit!
A – Say……BOO!
B – Growl like a werewolf
C – Spin around like a BIG pumpkin
D – Walk like a mummy
E – Crawl like a spider
F- Sway from side to side like a scarecrow
G – Wrap your arms around yourself up like Dracula
H – Howl at the moon
I – Pretend your hand has a mind of it’s own
J – Walk like Frankenstein
K – Shake like a leaf
L – Pretend there is a spider crawling up your arm
M – Using your hands, pretend to mash up gooey marshmallows
N – Say……BOO! (You can never say it too many times!)
O – Say Trick or Treat!
P – Say Happy Halloween!
Q – Howl at the moon
U – Stir your witches brew with both hands
R – Pretend you are walking on spikey Candycorn
S – Cast a spell with your pretend wand
T – Freestyle spooky dance
U – Move like a spooky skeleton
V – Pretend your other hand has a mind of its own
W – Pretend your legs are stuck to the ground
X – Walk forward like you just walked into a spider web
Y – Stir your witches brew with both hands
Z – Shake like a leaf
Our membership manager, Lily, tried it with her family. Check out this demonstration video!
Try the MCM Halloween Dance!
M – Using your hands -pretend to mash up gooey marshmallows
C – Spin around like a BIG pumpkin
M – Using your hands -pretend to mash up gooey marshmallows
Need to take your game on the road? Check out this downloadable PDF version below.
Now that the sun is setting earlier and Halloween is approaching, it’s fun to have a special night light or lantern in your home or in your room.
Materials needed:
tracing paper,
markers,
battery-operated votive candle
(optional) jar lid to stabilize the lantern
(Safety note: Do NOT try this with a candle with real flame or a light bulb. The tracing paper is flammable and could fall over onto the flame or the light and catch fire. Safety first!)
To create your lantern, first decorate the tracing paper. Create your own design or trace something spooky!
Tape into a cylinder, optionally taping it around a jar lid for a bit more stability, and place the candle inside.
A battery operated tea light is dim enough to be a good, temporary nightlight for most kids. The batteries won’t last forever but for a special Halloween treat (and to ward off fears of ghosties or ghoulies) it will work just fine.
October is a great time to try out some classic science experiments with a Halloween twist! You can make some Boo Bombs out of items in your kitchen.
Materials needed:
zippered plastic bags
white vinegar
corn starch
toilet paper (it’s a precious commodity but you only need a few squares)
baking soda
food coloring (optional)
If you’d like, you can decorate your bags first, with pumpkins, ghosts, witches, etc. If you have a curious child at home, plan to make at least a few bags as they will likely want to do this more than once.
Put about 1 tablespoon of baking soda in a square of toilet paper, fold it up into a square and set aside.
Fill each baggie with 1 tablespoon of corn starch and about 1 cup of vinegar. Mix it around a bit to make sure the corn starch is dissolved. Add a few drops of food coloring if you’d like too.
Here comes the tricky part! Help you child open the bag just enough to drop in the baking soda (tp and all). Seal the bag quickly and throw it! Watch as the baking soda mixes with the vinegar to inflate the bag until it pops. BOO!
Even very young children love to do this science experiment and will want to do it over and over again! As you are putting the bag together you can talk about the various components. How does the vinegar smell? Do you like the smell? What do we use baking soda for? Does it look like other kitchen supplies? Do yo have any idea what will happen when we mix these together? (Young children often think it will change colors.)
You can explain that the vinegar and baking soda will mix together to form bubbles full of air or gas to fill the baggie. After you have done the experiment ask them to tell you what happened, or what will happen if you do the experiment again.
Young children may not understand the concepts of carbon dioxide or chemical reactions, but they’ve used their senses to make observations, learned about making predictions, and conducted an experiment. It’s a great start to science learning and inquiry!
Fall is certainly here, and while there is still time to get kids to playgrounds some days you just need a fun activity that can keep kids engaged indoors. This craft is fantastic, because it not only produces a fun bit of art that can even be used as part of Halloween decor, but it also creates a neat toy that they can play with, use in puppet shows, giving it a lot more “longevity” than your average craft project.
I made my creation into a frog, but change up the colors and add some horns, fur, scales or warts and you could have a very cool monster or dragon, depending on your child’s interests and aesthetic.
Here are the materials you’ll need:
colored cardstock (a circle and two strips)
white cardstock (two small circles for eyes)
party blower that rolls (the dollar store has party blowers that don’t make noise!)
scissors, glue, stapler, marker
Fold the circle in half. Staple each side together. Cut (or hole punch) a small hole in the middle of the half circle on the crease.
2. Fold a small portion of the small circles and glue that small portion to the top of your froggy so the eyes will stand up.
3. Give your frog friend some pupils, and crinkle fold some legs. Younger children might have trouble crinkle folding the legs but that’s okay! Encourage them to fold them however they would like.
4. Glue your legs to the bottom of your frog (LET DRY). And insert your froggy “tongue.”
5. What can you catch with your frog tongue??
*Bonus: this is a great way for children to practice breathing in through their nose and out through their mouth. Can they make the tongue move fast? Can they make it move slow?
The ability to deliberately control their breathing is a great skill for little kids to cultivate. It can help them regulate their emotions and even make something like a skinned knee not hurt as much. Deep breaths!
Looking for a new way to get up and moving as well as get kids minds active and learning? Try a scavenger hunt!
For this scavenger hunt, I gathered some random plastic animals and hid them around the yard. My assistants, Chloe and Carter, were eager to start the search, and even used their walkie talkies to alert one another to a discovery. *Note: no plastic animals needed for this activity. Printed or drawn pictures of animals work great!
It took a while to find all the animals, and we talked about the word camouflage, since some of the animals were quite hidden. Once all the animals were found, we talked about each one and discussed what kind of habitat the animal needed. We categorized them by where they built their homes or where they spent their time: land, water, or air.
The animals that lived in mixed habitats were particularly interesting to discuss!
This scavenger hunt and animal habitat game is a super Brain Builder! The scavenger hunt encourages movement, observation skills, and persistence. The categorizing of animals habitats promotes math and science concepts.
*Brain Builder bonus: older children may only need a written list, but children who are still learning to read may need photos or pictures of the items. Even very young children will like to make a match to their paper and the item–bonus literacy skills!
Do you find the idea of doing a science experiment intimidating? Does S.T.E.M scare you? Never fear! “Doing science” with young children doesn’t need to be complicated and you have plenty of materials right in your home.
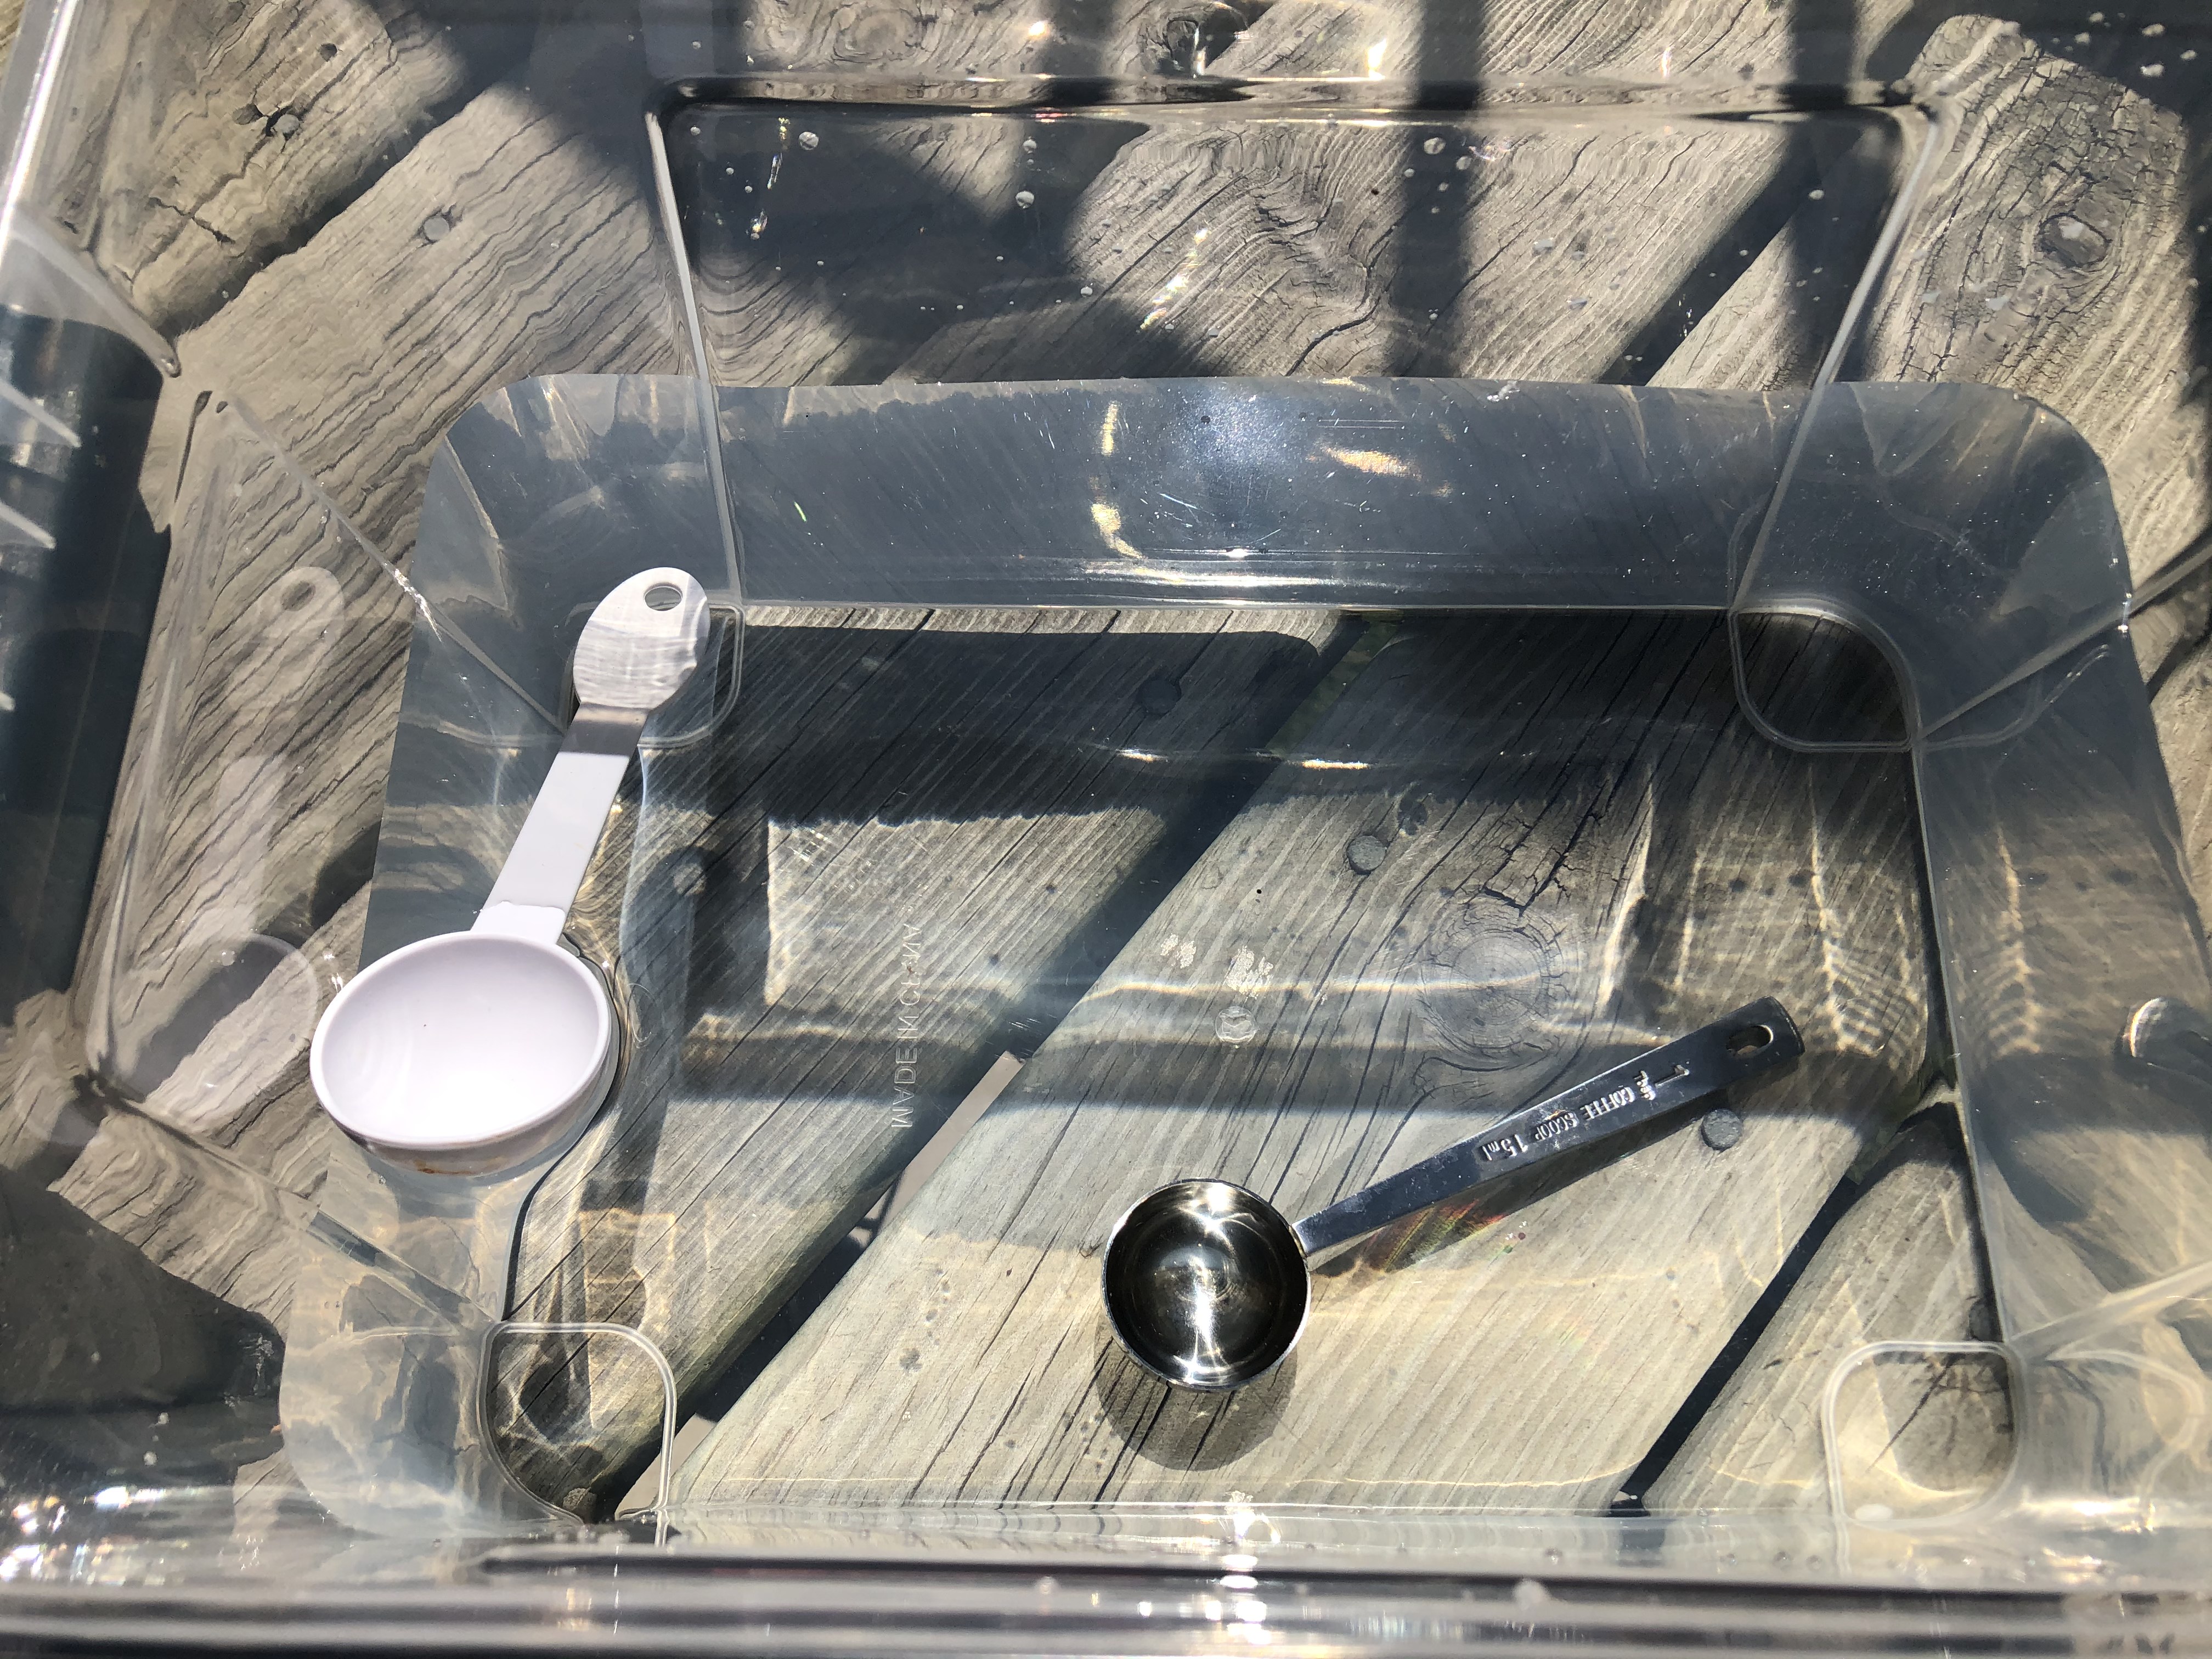
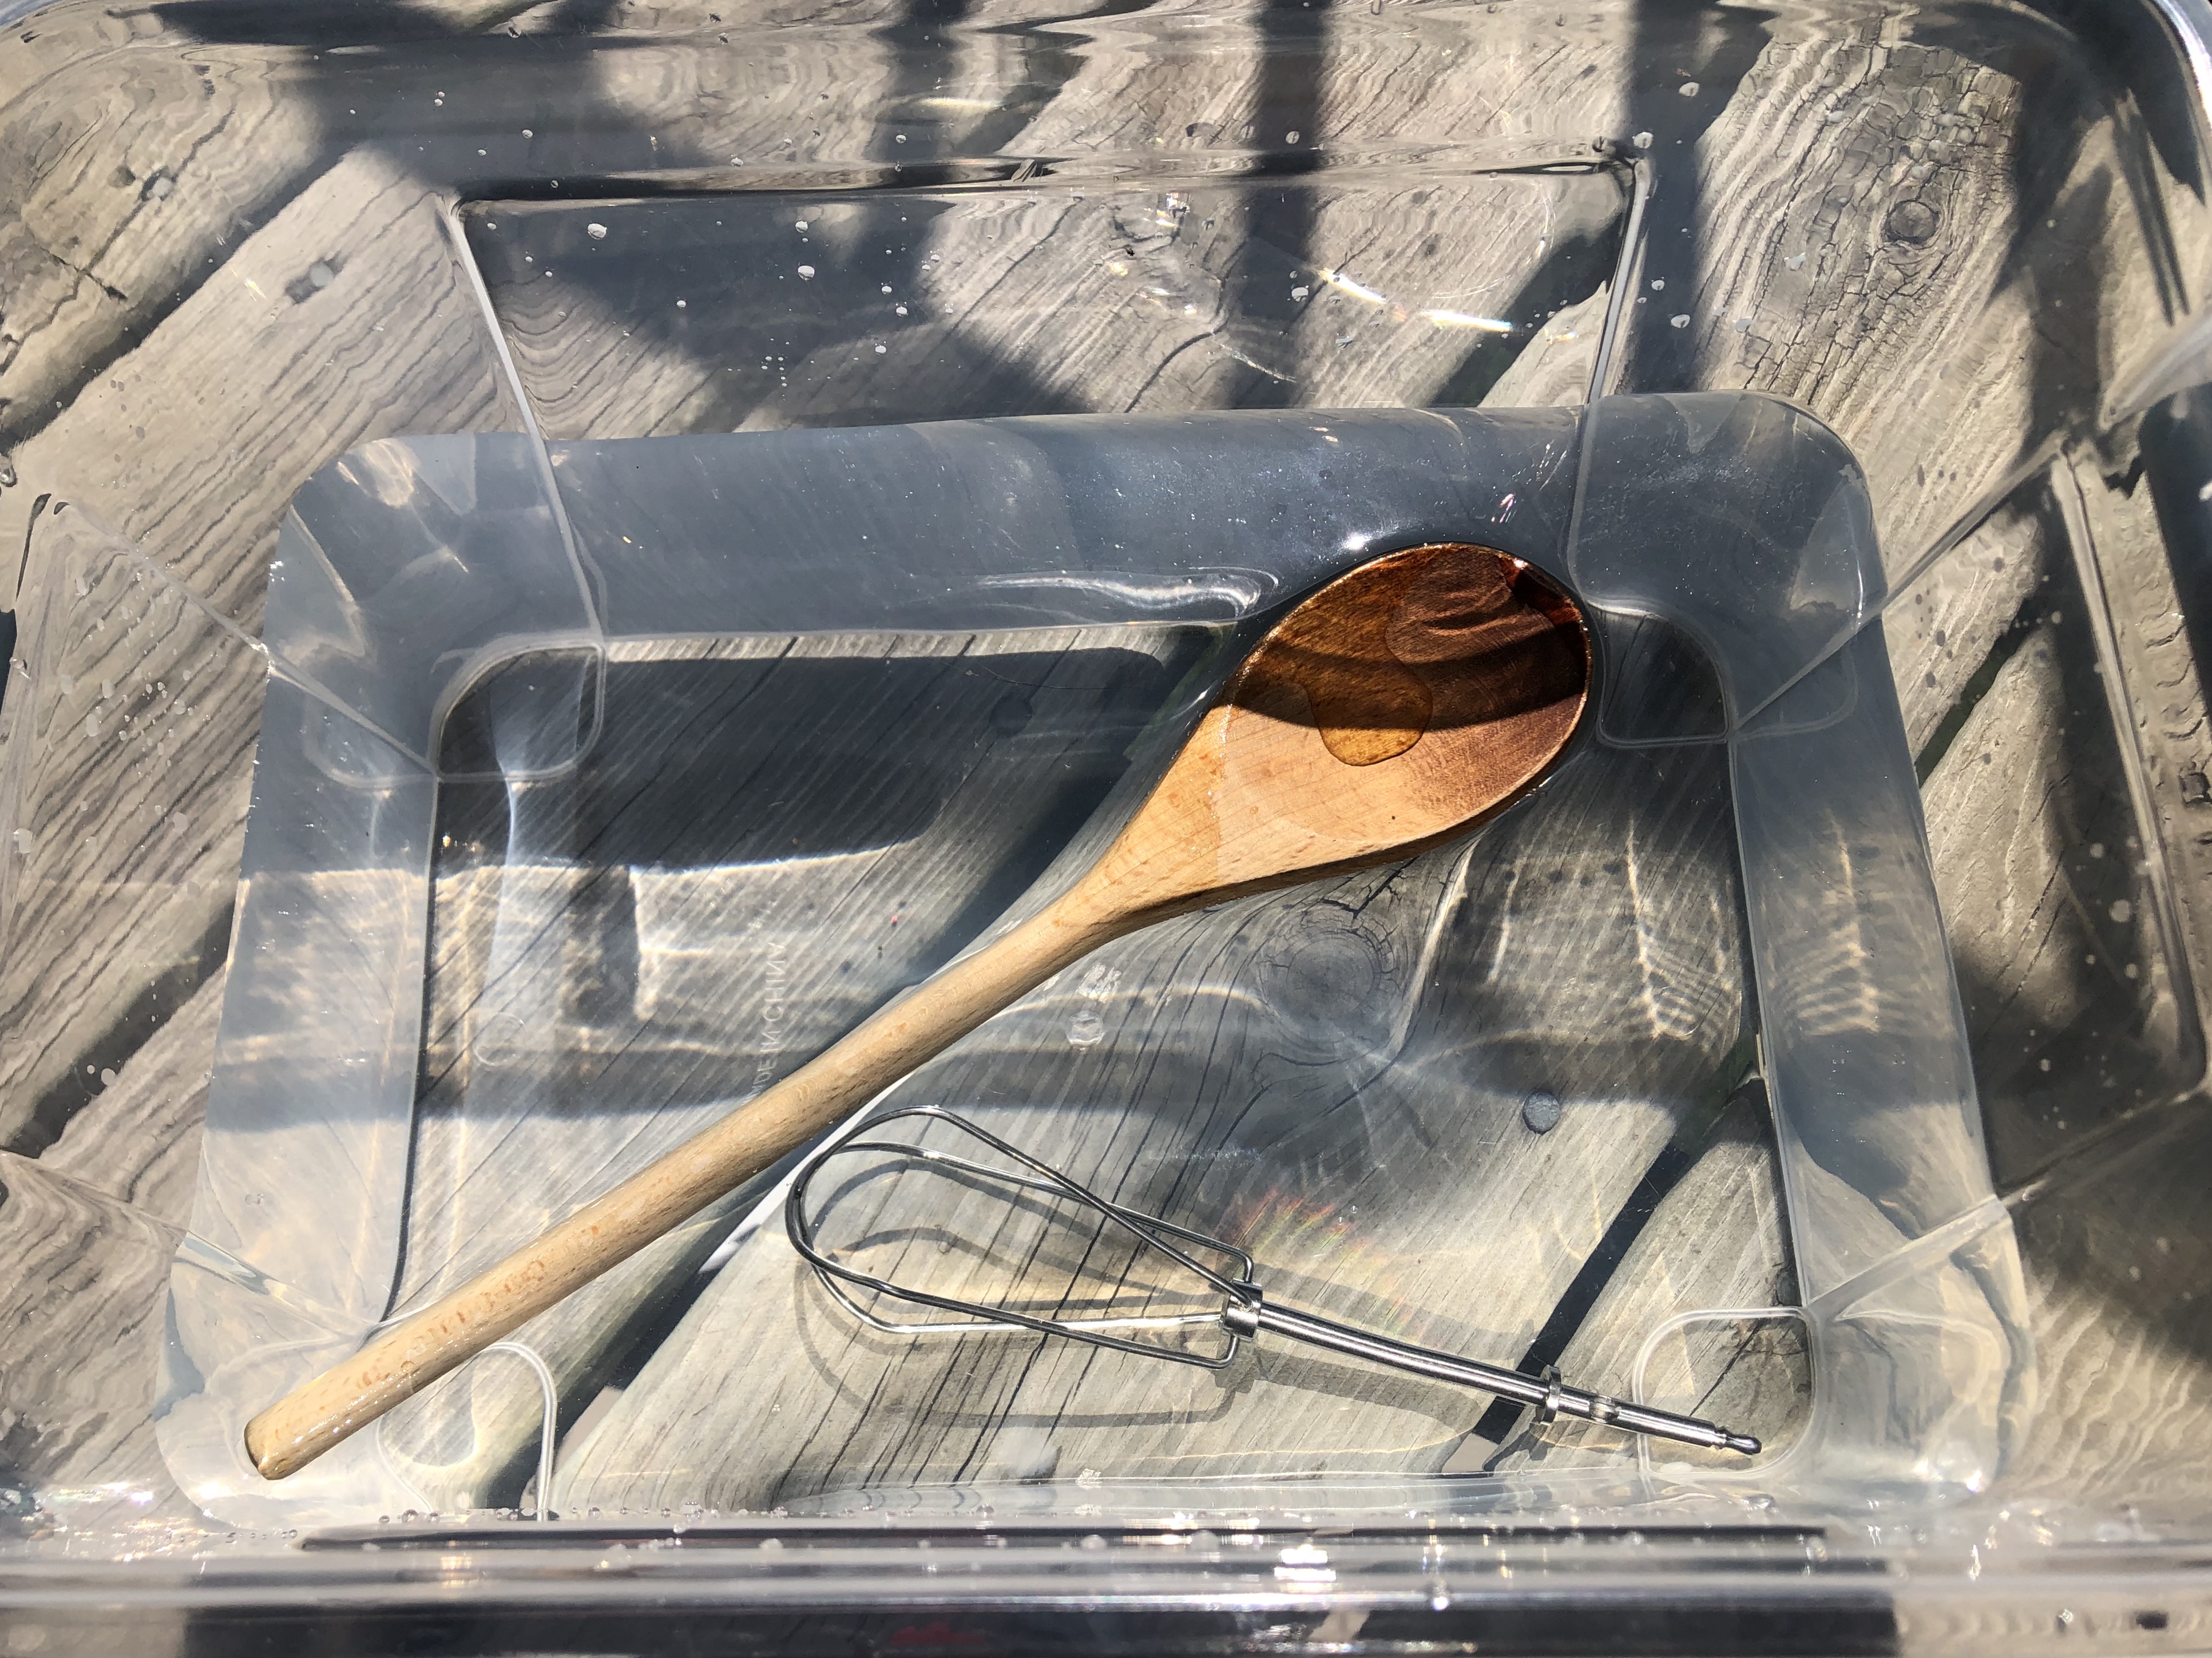
This week’s Brain Builder is a classic science experiment: Sink or Float. First, gather a variety items from from your house, looking for different sizes and materials like wood, metal, plastic, etc. I found some plastic animals of various sizes, a plastic and metal measuring spoon, a lid, a small jar, and a very random octopus tentacle and yo-yo from the junk drawer. You also need a container and water.
Choose one item at a time and take a moment to observe the object. What is it made of? Wood? Metal? Is it heavy? Light? Make a prediction about whether the object will sink or float. We learned that metal sinks quickly, while wood and plastic are likely to float.
Next, we predicted the yo-yo would float since it is made of plastic. Success! The yo-yo floated but we quickly noticed that the string did not.
Then we were excited to try the silly plastic octopus tentacle and the jar and lid. We predicted all 3 would float and they did. Until they sank. We realized that those objects floated until they filled with water and then they sank.
Lastly, we decided to check out the animals. We predicted the moose and the bear would sink because they were so big, and that the fish and the alligator would float because they were small and made of plastic. We were wrong! Which is part of being a scientist sometimes.
We decided to re-examine the animals since we predicted incorrectly. We finally realized that the bear and moose were hollow and full of air, while the fish and the alligator were made of a denser plastic.
This is a Brain Builder because it engages children in the process of scientific inquiry: observing, categorizing, and making predictions. You don’t even have to know why they sink or float, it’s meaningful just participating in the process.
*Bonus Brain Builder: We charted our predictions and outcomes, counted which items sank or float, and made a graph of our results.
Looking for another way to keep cool this summer? Give “Meltasaurus” a try! Meltasaurus is one of our most popular activities for younger children at the museum and now you can try them at home!
The setup: Grab some tiny plastic dinos, or LEGO’s, etc. Put the toys in some small containers (I had a bunch of mason jars hanging around), fill with water and freeze!
(If using glass, keep an eye on the containers and pull them out of the freezer once the water has just frozen. Water expands when it freezes so glass jars can break! If you want to prep this activities one or more days, before use plastic containers that can expand with your ice.)
When you’re ready to play: Grab some squirt bottles or droppers, and fill ’em up with water. I used a couple different kinds of bottles, including a small spray bottle and a pipette.
With my assistants, Ava and Beau (age 3), first we worked on getting the dinos out of the jars by squirting the water and melting the ice.
(For more experimentation, try filling the squirt bottles with different temperatures of water to see which frees the toys the fastest. For very little kids with short attention spans, or for bigger blocks of ice, use warm water.)
We used a plastic bin, but sitting in a small pool to do this activity would be a great way to keep cool on a hot summer’s day!
As more of the ice was removed from the jars, Ava and Beau used their fine motor skills to squeeze the bottles and free the dinosaurs. Every time they freed a dinosaur there was a great sense of accomplishment!
Why is this a Brain Builder? Activities like “meltasaurus” encourage children to use their fine motor skills, which helps with later tasks like zipping, tying shoes and writing. It supports social and emotional development by encouraging persistence, and feeling a sense of accomplishment. It’s also a first step at scientific inquiry by using observational skills: why does the water melt the ice, which dinosaurs are the same color, or what happens if we spray the water on ourselves or on the slide?
Older babies and toddlers love to touch, feel, and explore. You can make a sensory board with items you have in your home. You’ll need a piece of cardboard, a hot glue gun, and some creativity.
Items I used:
Piece of an old bath mat
Puff balls/pom poms/cotton balls
Straws
Clothespins
Sparkly ribbon
Card stock cut into shapes
Recycled bottle caps
Bubble wrap
Tissue paper
Popsicle sticks
Other items you might have that you can use: q-tips, loofah, wash cloth, aluminum foil, buttons, dried beans, pasta, egg carton, coffee filters… What will go on your sensory board?
Early Explorers activities are designed with the developmental needs of babies and toddlers in mind. Watch for more Early Explorers activities as part of MCM at Home.